DIY tutorial: make your own cross stitch magnet (with felt)

Hi, this is the beginning of your ellipsis box DIY journey! You'll find on this page a complete written tutorial to make any cross stitch magnet kit.
If you prefer to see a video, Sirithre has made one here.
Finally, if you have any question, join me on Discord or on Twitch so that I can help you directly!
~
Here are the contents of the DIY kit to make a cross-stitch magnet, available on ellipsis box:
- aida plastic fabric, pre-cut to the right size
- one or two magnets
- felt for the back of the magnet
- a size 7 needle
- DMC embroidery threads
The cross stitch pattern is available by scanning the QR code from the kit. Send me a message if you encounter any issue. :)
Making a cross-stitch magnet is an activity I really enjoy, as it allows you to make a small project relatively quickly with your own hands. It takes about 3 hours of work, with soft (or epic!) music in the background...
Step 1: Follow the model on the plastic aida canvas

Look at the legend on the model to identify which colour corresponds to which section.
Personally, I prefer to follow the pattern from left to right and top to bottom.
One of the most important aspects of cross stitching is counting... To check that you are starting your pattern in the right place, and that you will have room to fit the whole pattern on the aida canvas.
As for the number of threads, each strand consists of 6 threads. I suggest using two strands to make the cross-stitches.
Thread your two strands through the needle, and make a triple or quadruple knot at one end of your thread.
After counting and making sure you start in the right place, use the following template to make cross-stitches:
If you have only one cross-stitch to make:

You start from the back of the fabric, the needle goes out from 1 and stitch in 2. It goes out in 3 to be stitched in 4. And you got a cross-stitch!
If you have several cross-stitches of the same colour to make:


Step 2: Cut off the excess aida canvas

Once the pattern is complete, use a pair of scissors to cut away the excess of Aida canvas around your pattern. Be sure to keep the cross-stitch borders to avoid damaging your design.
Step 3: Sew the felt on the back of the magnet

Place your magnet in the center of the felt. Take only one thread of colour 3799, and make a running stitch:


Step 4: Cut off excess felt

Using a pair of scissors, cut off the excess felt, being careful not to cut your running stitches.

And that's it!
Share your magnet by tagging @ellipsis_box :)
A little more cuteness...
-
Cross stitch pattern - Haku from Spirited Away
Regular price €3,00 EURRegular priceUnit price per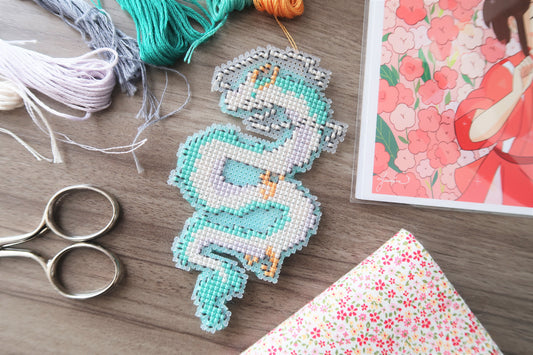
-
Cross-stitch pattern - Bulbasaur from Pokemon
Regular price €3,00 EURRegular priceUnit price per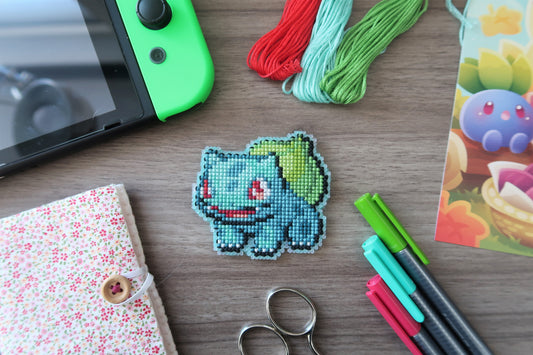
-
Cross stitch pattern - Totoro
Regular price €3,00 EURRegular priceUnit price per
-
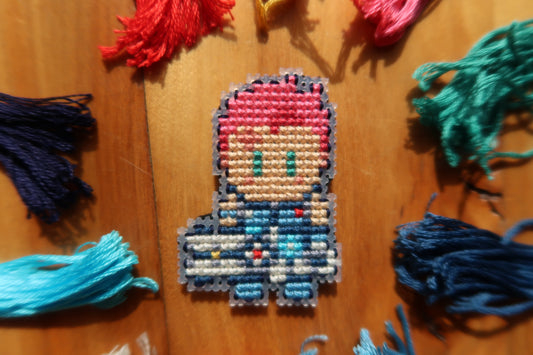
Cross-stitch pattern - Zarya from Overwatch
Regular price €3,00 EURRegular priceUnit price per